So, you’ve found yourself pondering the weight of an average snowblower, huh? Well, you’re in luck because today we’re going to shed some light on this very topic. Whether you’re a seasoned snow removal expert or a curious bystander, knowing the weight of a snowblower can be quite useful. From maneuverability to storage, understanding the weight of these machines can make all the difference when it comes to tackling those winter woes. So, let’s grab a warm beverage, settle in, and discover the scoop on the weight of an average snowblower.

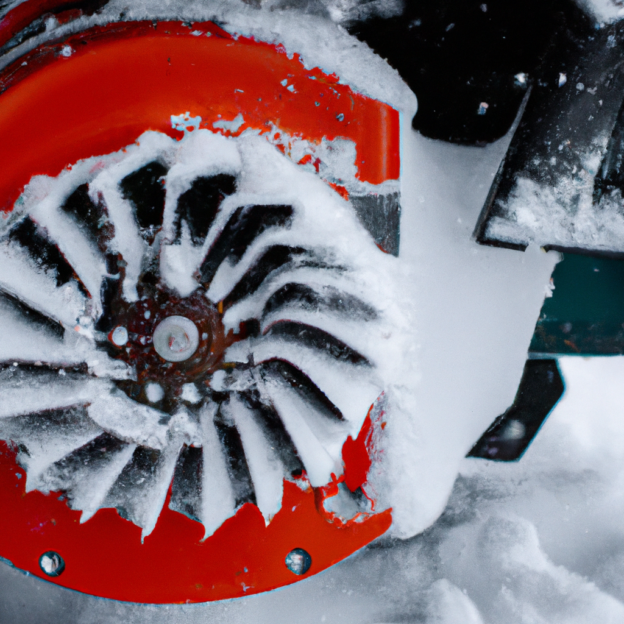
This image is property of pixabay.com.
Factors Affecting Snowblower Weight
When it comes to purchasing a snowblower, one of the important considerations is its weight. The weight of a snowblower can influence its effectiveness, ease of use, and overall performance. Several factors contribute to the weight of a snowblower, including size and power, type of snowblower, materials used, and additional features.
Size and Power
One of the primary factors affecting the weight of a snowblower is its size and power. Generally, larger snowblowers with more powerful engines tend to be heavier. This is because the engine size and power output directly impact the snowblower’s ability to clear snow efficiently. If you live in an area that experiences heavy and frequent snowfalls, you may need a snowblower with a larger and more powerful engine, which inevitably increases its weight.
Type of Snowblower
The type of snowblower also plays a significant role in determining its weight. Snowblowers can be categorized into single-stage, two-stage, and three-stage types, each with its own design and functionality. Single-stage snowblowers are typically lightweight and compact, making them easier to maneuver. Two-stage snowblowers are heavier than single-stage ones due to the addition of an auger and impeller, which helps throw snow further. Three-stage snowblowers, being the largest and most powerful, tend to be the heaviest among the three types.
Materials Used
The choice of materials used in the construction of a snowblower can impact its weight as well. The main components of a snowblower, such as the body, auger, impeller, and chute, can be made from various materials, including steel, aluminum, and plastic. Steel components tend to be heavier but offer better durability and strength. Aluminum is lighter than steel but still provides good durability. Plastic components, although the lightest, may lack the robustness of steel and aluminum. The choice of materials will depend on the desired balance between weight and durability.
Additional Features
Many snowblowers come with additional features that can influence their weight. These features may include adjustable handles, electric start, headlights, heated grips, and more. While these enhancements provide convenience and improved functionality, they also contribute to the overall weight of the snowblower. It is essential to consider how important these features are to you and whether the added weight is worth the benefits they offer.
Average Weight of Single-Stage Snowblowers
Single-stage snowblowers are known for their simplicity and ease of use. They typically have a rubber-tipped auger that clears the snow and throws it forward in a single motion. The average weight of single-stage snowblowers can vary depending on their compactness and design.
Compact Single-Stage Snowblowers
Compact single-stage snowblowers are designed to be lightweight and portable, making them ideal for small areas and light snowfall. On average, these snowblowers weigh between 35 to 55 pounds. Their compact size and reduced weight make them easy to maneuver and store, but they may not be suitable for heavy snowfall or larger areas.
Standard Single-Stage Snowblowers
Standard single-stage snowblowers are slightly larger and more powerful than their compact counterparts. They are designed to handle heavier snow and cover larger areas. These snowblowers typically weigh between 55 to 85 pounds. While they may require a bit more effort to maneuver, they offer increased clearing capacity and can handle more challenging conditions.

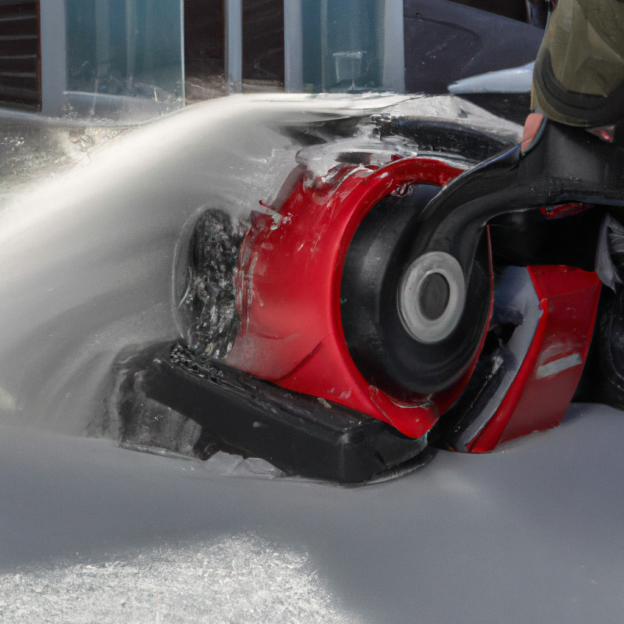
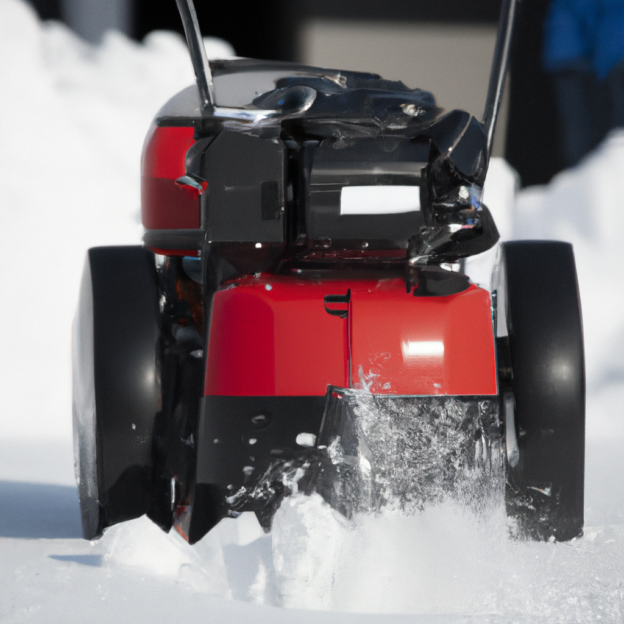
This image is property of pixabay.com.
Average Weight of Two-Stage Snowblowers
Two-stage snowblowers are a popular choice for homeowners dealing with larger snowfall amounts and more extensive areas. These snowblowers feature an auger that feeds the snow into an impeller, which throws it out of the chute. The additional components in two-stage snowblowers make them heavier than single-stage models.
Compact Two-Stage Snowblowers
Compact two-stage snowblowers are designed to provide the power and performance of a two-stage snowblower in a more compact size. They are suitable for moderate snowfalls and smaller areas. On average, compact two-stage snowblowers weigh between 90 to 150 pounds. Their reduced weight compared to standard two-stage snowblowers allows for better maneuverability while still delivering effective snow clearing capabilities.
Standard Two-Stage Snowblowers
Standard two-stage snowblowers are the most commonly used type among homeowners. These snowblowers are designed to handle heavy snowfall and clear larger areas efficiently. Due to their increased size and power, they also have a higher weight range, typically between 150 to 250 pounds. Although heavier, they offer superior clearing capacity and are suitable for tackling various snow conditions.
Heavy-Duty Two-Stage Snowblowers
For those living in regions with extremely heavy snowfall or commercial users, heavy-duty two-stage snowblowers are the best option. These models are built to endure challenging conditions, such as heavy and wet snow. With larger engines and wider clearing widths, heavy-duty two-stage snowblowers tend to be the heaviest among all snowblower types. On average, they weigh between 250 to 400 pounds. While their weight may pose some challenges in terms of maneuverability, they provide exceptional power and performance.
Average Weight of Three-Stage Snowblowers
Three-stage snowblowers are the most advanced and powerful snowblowers available. They feature an additional accelerator, which helps break up the snow and move it into the impeller. These snowblowers are best suited for areas experiencing heavy snowfall and extremely large areas.
Compact Three-Stage Snowblowers
Compact three-stage snowblowers offer the power and performance of a three-stage snowblower in a smaller size. They are designed to handle moderate to heavy snowfall and clear medium-sized areas effectively. On average, compact three-stage snowblowers weigh between 150 to 250 pounds. Despite being lighter than standard three-stage models, they still provide excellent snow clearing capabilities.
Standard Three-Stage Snowblowers
Standard three-stage snowblowers are the largest and most powerful among all snowblower types. They are designed for clearing heavy snowfall and tackling large areas efficiently. These snowblowers typically weigh between 250 to 400 pounds. Due to their size and weight, they require more effort to maneuver, but they excel in removing snow quickly and effectively.

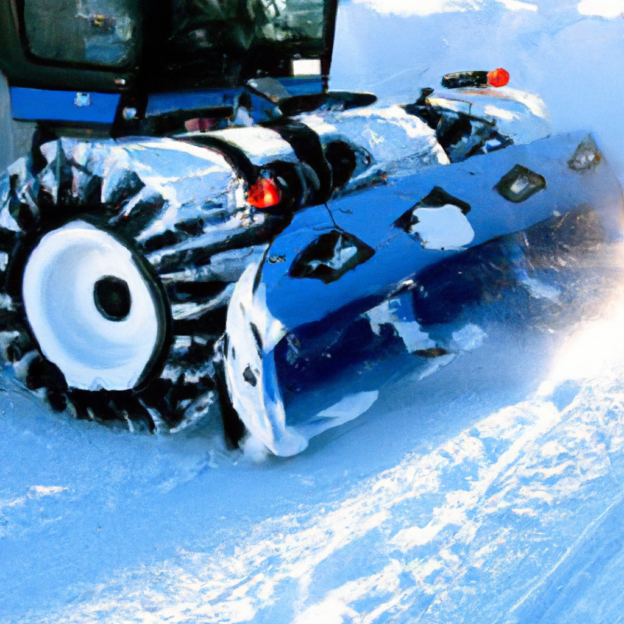
This image is property of pixabay.com.
Additional Factors to Consider
Apart from the specific type and size of snowblower, there are a few additional factors that are important to consider when evaluating the weight of a snowblower.
Weight Distribution
The distribution of weight in a snowblower can significantly impact its maneuverability. Ideally, the snowblower should have balanced weight distribution, with the engine and heavier components positioned low to the ground. This balance ensures stability and ease of movement, reducing the strain on the operator.
Accessories and Attachments
Certain accessories and attachments, such as drift cutters, skid shoes, and snow cabs, can add additional weight to the snowblower. While these optional extras enhance the functionality and versatility of the machine, it is essential to factor in their added weight when considering the overall weight of the snowblower.
Transportation and Maneuverability
When assessing the weight of a snowblower, it is important to consider how you plan to transport and maneuver the machine. If you have limited storage space or frequently need to transport the snowblower, a lighter model may be more suitable. However, if you have a large property and primarily use the snowblower on-site, a heavier model may not be a significant concern.
Benefits of Lighter Snowblowers
Opting for a lighter snowblower brings several benefits that may make snow clearing tasks more manageable and convenient.
Ease of Use
One of the primary advantages of a lighter snowblower is its ease of use. A lighter machine can be maneuvered more effortlessly, reducing the strain on the operator. This is particularly beneficial for individuals who may struggle with heavy lifting or have physical limitations.
Maneuverability
Lighter snowblowers are generally more maneuverable, allowing you to navigate narrow pathways, tight corners, and obstacles more easily. Their reduced weight makes it easier to change directions and adjust the angle of the chute without exerting excessive effort.
Storage and Transportation
If storage space is a concern or if you frequently need to transport the snowblower, a lighter model is more convenient. Lighter snowblowers can be stored more efficiently in limited spaces and are easier to load and unload from trucks or trailers.

Considerations for Heavier Snowblowers
While lighter snowblowers have their advantages, there are instances where heavier snowblowers may be the better choice.
Increased Power and Efficiency
Heavier snowblowers often come with more powerful engines and larger clearing widths. This increased power and efficiency enable them to handle heavy and wet snow with ease. If you live in an area prone to heavy snowfall, a heavier snowblower may be necessary to effectively deal with the challenging conditions.
Tackling Heavier Snowfall
If you have a large property or need to clear extensive areas, a heavier snowblower may be more suitable. These machines can clear wider paths and cover more ground in a shorter amount of time. If productivity and quick snow removal are your priorities, the weight of the snowblower may be a trade-off worth considering.
Durability and Longevity
Heavier snowblowers often feature sturdier construction and components, which enhance their durability and longevity. If you are looking for a long-term investment and reliability, a heavier snowblower may provide the durability needed to withstand frequent use and harsh weather conditions.
Recommended Snowblower Weight for Different Conditions
The optimal weight of a snowblower can vary depending on the specific snow conditions you typically encounter.
Light Snowfall
For areas with light snowfall and smaller properties, compact single-stage or two-stage snowblowers in the 35 to 150-pound range are generally sufficient. These lighter models offer the maneuverability and clearing capacity necessary to handle light snow accumulations.
Moderate Snowfall
In regions experiencing moderate snowfall, standard single-stage or compact two-stage snowblowers weighing between 55 to 150 pounds can effectively handle the snow clearing requirements. These models strike a balance between maneuverability and clearing power, making them suitable for medium-sized areas.
Heavy Snowfall
For heavy snowfall conditions or larger properties, standard two-stage or three-stage snowblowers weighing over 150 pounds are recommended. These heavier models provide the increased power and clearing capacity necessary to tackle deep snow and cover significant areas.

Conclusion
When selecting a snowblower, considering its weight is crucial for optimal performance and ease of use. Factors such as size and power, type of snowblower, materials used, and additional features all contribute to its weight. Single-stage snowblowers are generally lighter, with compact models weighing 35 to 55 pounds and standard models weighing up to 85 pounds. Two-stage snowblowers are heavier, with compact models weighing 90 to 150 pounds and standard models weighing up to 250 pounds. Three-stage snowblowers, offering the highest power and performance, can weigh between 150 to 400 pounds. Additional factors, such as weight distribution, accessories, and transportation, should also be considered. Lighter snowblowers provide ease of use, maneuverability, and convenience in storage and transportation. Heavier snowblowers offer increased power, efficiency, and durability. Depending on the snowfall conditions and property size, recommended snowblower weight can vary. Ultimately, choosing the right weight of snowblower ensures effective and efficient snow removal for your specific needs.