So, you’re looking to get rid of your old snowblower and do the right thing by recycling it. Well, you’ve come to the right place! In this article, we’ll explore various ways for you to responsibly dispose of your snowblower and give it a second life. Whether you’re looking to donate it, take it to a recycling facility, or even repurpose it yourself, we’ve got you covered. So let’s roll up our sleeves and find the best way to give your old snowblower a sustainable farewell!

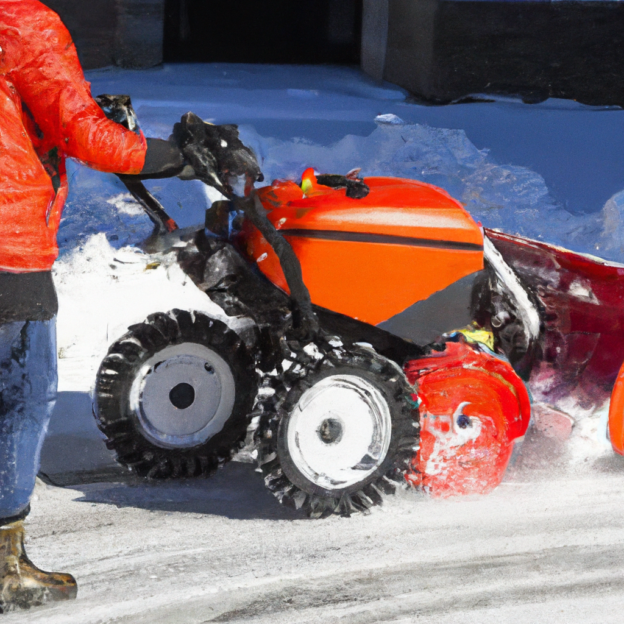
This image is property of pixabay.com.
Considerations before recycling
Before jumping into the process of recycling your old snowblower, there are a few important considerations to keep in mind. Firstly, think about whether the snowblower can be repaired or reused. If it’s a minor issue that can be fixed with a little maintenance or repair work, it might be worth trying to breathe new life into it. This not only saves you money but also reduces the demand for new products.
Another crucial step is to research local recycling options. Not all areas have the same recycling programs or facilities, so it’s essential to understand what options are available in your locality. Look for recycling centers that accept snowblowers or other similar equipment. Also, check if there are any specific guidelines or requirements for recycling snowblowers in your area.
Lastly, consult the manufacturer’s recommendations. The manufacturer may have specific instructions on how to dispose of their products or provide information on local recycling centers that they work with. By following their recommendations, you can ensure that the snowblower is recycled in the most responsible and efficient way possible.
Preparing for recycling
Before you can take your snowblower to a recycling center, it’s important to properly prepare it for recycling. Here are a few steps to follow:
-
Clean the snowblower: Remove any dirt, debris, or snow from the machine. This helps make the recycling process easier and ensures that all the parts are visible.
-
Drain fuel and oil: Before recycling, it’s crucial to drain any fuel or oil from the snowblower. These substances can be hazardous, and recycling centers often have specific procedures for handling them. Make sure to dispose of the fuel and oil responsibly, following local regulations or guidelines.
-
Disconnect spark plug: To avoid any accidental starts or sparks, disconnect the spark plug. This step ensures your safety and the safety of those handling the snowblower during the recycling process.

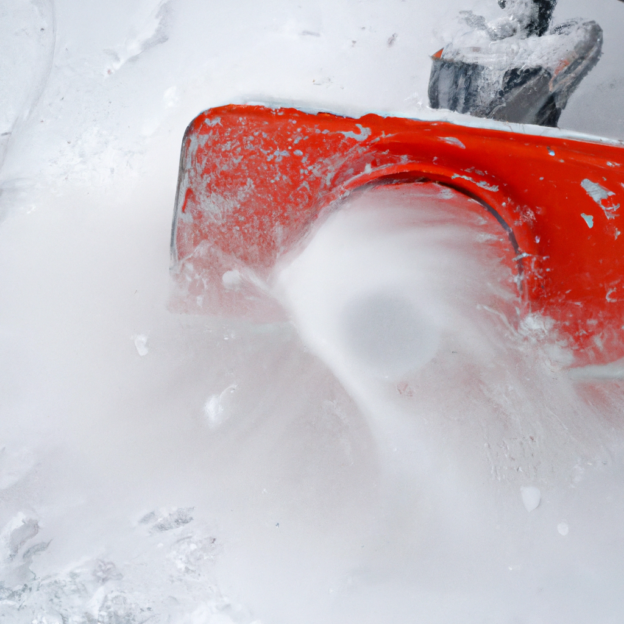
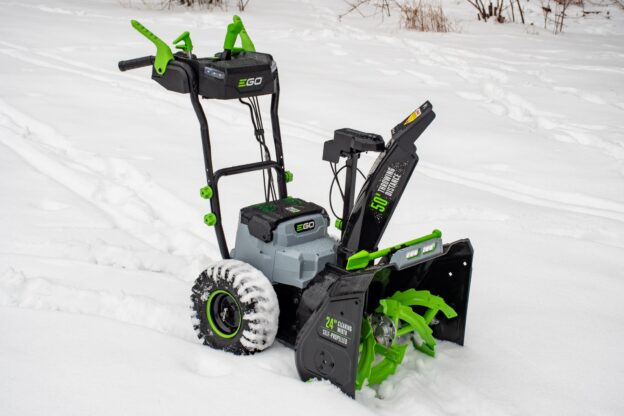
This image is property of pixabay.com.
Donate or sell the snowblower
If your snowblower is still in good working condition, consider donating or selling it instead of recycling. By giving it a new home, you extend its lifespan and reduce waste. Here are a couple of options to explore:
-
Donate to a charity or non-profit organization: Many organizations accept donations of used snowblowers or other equipment. These organizations may redistribute them to those in need or use them for community projects. Research local charities or non-profits in your area and check if they accept such donations.
-
Sell it online or at a garage sale: If your snowblower is still functional, you can sell it online through platforms like Craigslist or eBay. Alternatively, you can organize a garage sale to find a local buyer. Selling the snowblower not only gives it a second life but also puts some money back in your pocket.
Find a local recycling center
When the snowblower is beyond repair or reuse, it’s time to find a local recycling center. Here are a few ways you can locate one:
-
Contact local waste management: Get in touch with your local waste management authority or recycling center to inquire about snowblower recycling. They can provide information on specific recycling centers in your area or advise you on the best course of action.
-
Search online directories: There are various online directories and databases dedicated to recycling facilities. Use these resources to find recycling centers nearby that accept snowblowers. Some directories even provide ratings and reviews, giving you an idea of the facility’s reputation.
-
Inquire at home improvement stores: Reach out to home improvement stores, such as hardware stores or garden centers, and ask if they have any recommendations for snowblower recycling. They often have connections with recycling centers and can guide you in the right direction.

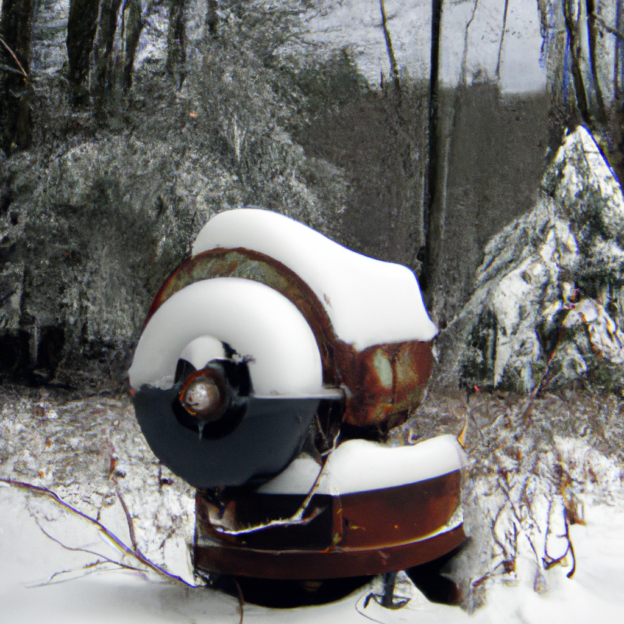
This image is property of pixabay.com.
Disassemble the snowblower
Before recycling the snowblower, it’s important to disassemble it properly. This allows for a more efficient recycling process and ensures that different parts are recycled appropriately. Follow these steps for disassembly:
-
Refer to the user manual: The user manual provides specific instructions on how to disassemble the snowblower safely. It’s important to follow these instructions to avoid any damage to the machine or harm to yourself.
-
Use necessary tools and safety equipment: Gather the tools specified in the manual for disassembling the snowblower. Additionally, don’t forget to wear appropriate safety equipment like gloves, goggles, and protective clothing. Safety should always be a top priority during the disassembly process.
-
Sort and separate the parts: As you disassemble the snowblower, separate the different components into categories, such as metal, plastic, rubber, and engine/motor parts. This sorting makes it easier to recycle each type of material properly and reduces the chances of confusion during the recycling process.
Recycling the various components
Once you have disassembled the snowblower and sorted the parts, it’s time to recycle each component appropriately. Here’s a breakdown of how to recycle different materials:
-
Metal components: Metals like steel and aluminum can usually be recycled at local metal recycling centers. Check with your local recycling facility to confirm whether they accept metal parts from snowblowers. Be sure to remove any non-metal attachments or components before recycling.
-
Plastic components: Plastics can be recycled, but not all plastic types are accepted by every recycling center. Look for recycling centers that specifically mention accepting plastic snowblower parts. If you’re unsure about the plastic type, check for any recycling symbols or consult the recycling center for guidance.
-
Rubber components: Rubber parts such as tires or belts may not be recyclable in standard recycling programs. Check if there are any specialized recycling centers or programs that accept rubber. If recycling is not an option, consider repurposing the rubber parts for other projects or contacting local tire shops for proper disposal.
-
Engine and motor: The engine and motor of the snowblower may contain valuable materials like copper or aluminum, making them suitable for recycling. Look for recycling centers that accept small engines or electronic components. Make sure to drain any remaining fluids and safely remove any hazardous materials before recycling.

Proper disposal of hazardous materials
When recycling a snowblower, it’s crucial to handle hazardous materials correctly. Here’s how to dispose of two common hazardous materials:
-
Dispose of fuel and oil: Fuel and oil should never be poured down the drain or thrown in the trash. Contact your local hazardous waste disposal facility and inquire about their procedures for fuel and oil disposal. They may have specific guidelines for these substances to ensure their safe handling and disposal.
-
Recycle or dispose of the battery properly: If your snowblower has a battery, it should be recycled separately. Batteries contain toxic substances and should not end up in landfills. Look for battery recycling programs or drop-off locations in your area. Many hardware stores or electronics retailers offer battery recycling services.
Transporting the snowblower
Transporting a disassembled snowblower requires careful attention to ensure safety and prevent damage. Here’s how to go about it:
-
Secure the disassembled parts: Use appropriate packaging or containers to secure and protect the disassembled snowblower parts during transport. This prevents any pieces from shifting or getting damaged during the journey.
-
Use a pickup truck or trailer: If you have access to a pickup truck or trailer, use it to transport the snowblower. Make sure the vehicle is large enough to accommodate all the disassembled parts and secure them properly to avoid any accidents or damage during transit.
-
Ask for assistance if needed: Transporting a disassembled snowblower can sometimes be a challenging task, especially if it’s bulky or heavy. Don’t hesitate to ask for assistance from friends, family, or neighbors. Their help can make the process smoother, safer, and more efficient.
Recycling alternatives
Besides traditional recycling methods, there are a couple of additional options to consider:
-
Trade-in programs: Some snowblower manufacturers or retailers offer trade-in programs. These programs allow you to exchange your old snowblower for a discount on a new one. This ensures the old snowblower is recycled responsibly while also providing you with a cost-saving opportunity.
-
Manufacturer take-back programs: Certain manufacturers have take-back programs in place, where they accept their products for recycling at the end of their life cycle. Contact the snowblower’s manufacturer to inquire about any available take-back programs. These programs often involve returning the product to the manufacturer or an authorized recycling center.
Recycling benefits and impact
Recycling an old snowblower has several positive impacts on the environment and reduces landfill waste. Here’s why recycling is beneficial:
-
Environmental benefits: Recycling helps conserve natural resources by recovering valuable materials from old snowblowers. The extraction and production of these materials usually have significant environmental impacts. By recycling, you reduce the need for new resource extraction, conserve energy, and lower greenhouse gas emissions.
-
Reduction of landfill waste: Snowblowers that end up in landfills contribute to the accumulation of electronic waste and other non-biodegradable materials. By recycling, you divert these products from landfills, extending their lifespan in the form of recycled materials. This reduces the strain on landfill space and prevents the potential release of hazardous substances into the environment.
In conclusion, recycling your old snowblower is a responsible and sustainable way to dispose of it. Before recycling, consider if the snowblower can be repaired or donated. Research local recycling options and consult the manufacturer’s recommendations. Properly prepare the snowblower for recycling, disassemble it, and sort the different components. Recycle each material separately, ensuring the correct disposal of hazardous substances. Transport the disassembled parts securely and explore alternative recycling options like trade-in or manufacturer take-back programs. By recycling your old snowblower, you not only contribute to a cleaner environment but also promote resource conservation and reduce landfill waste.