Are you dreading the upcoming winter storm season? Wondering how to battle back against the mountains of snow that will soon be covering your driveway and sidewalks? Look no further than our new product: “What Stage Snow Blower Do I Need?” This handy snow blower guide will help you determine exactly what type of snow blower is best suited for your needs. Say goodbye to sore muscles and endless shoveling, and say hello to a winter season that is a little less daunting. Get ready to take on the snow with confidence!
Choosing the Right Snow Blower
When it comes to winter weather, the snowy landscape can be both beautiful and challenging to navigate through. To make your life easier during these cold months, investing in a snow blower is a wise decision. However, with so many options available, it can be overwhelming to determine which snow blower is right for you. That’s where we come in. In this comprehensive guide, we will walk you through the different stages of snow blowers, factors to consider, and help you make an informed decision when choosing the right snow blower for your needs.
Understanding the Different Stages
Snow blowers come in three different stages: single-stage, two-stage, and three-stage. Each stage has its own set of features and capabilities, designed to tackle various snowfall conditions and property sizes. Understanding the differences between these stages will help you determine which snow blower is best suited for your specific needs.
Considering Snowfall Amounts and Type
The amount and type of snowfall you typically experience in your area play a significant role in selecting the appropriate snow blower stage. Different stages are designed to handle specific snowfall conditions, ensuring efficient and effective snow removal.
Evaluating Your Property Size and Terrain
Another crucial factor in choosing a snow blower is evaluating your property size and terrain. Snow blowers come in different sizes and have varying capabilities, so it’s essential to select one that can efficiently clear your driveway, walkways, and any other surfaces you need to keep snow-free.

This image is property of www.thespruce.com.
Single-Stage Snow Blower
Features of Single-Stage Snow Blowers
Single-stage snow blowers are compact and lightweight, making them easy to maneuver and store in tight spaces. These machines rely on an auger to scoop up and throw snow out of the chute in a single motion. They are typically electric-powered, eliminating the need for gas or oil. Single-stage snow blowers are perfect for moderate snowfall conditions and smaller properties.
Ideal Snowfall Amounts and Types for Single-Stage Snow Blowers
Single-stage snow blowers are ideal for clearing up to 8 inches of snowfall. They work best on paved surfaces and are well-suited for light, fluffy snow types. These machines may struggle with heavy or wet snow, making them less effective in regions with high snow accumulation.
Suitable Property Sizes and Terrains for Single-Stage Snow Blowers
Single-stage snow blowers are great for clearing smaller properties, such as patios, decks, and small driveways. They can also navigate well on flat or slightly inclined terrains. If you have a larger property or live in an area with steep inclines or rugged terrain, you may want to consider a different stage of snow blower with additional power and capabilities.

This image is property of www.snowblowersdirect.com.
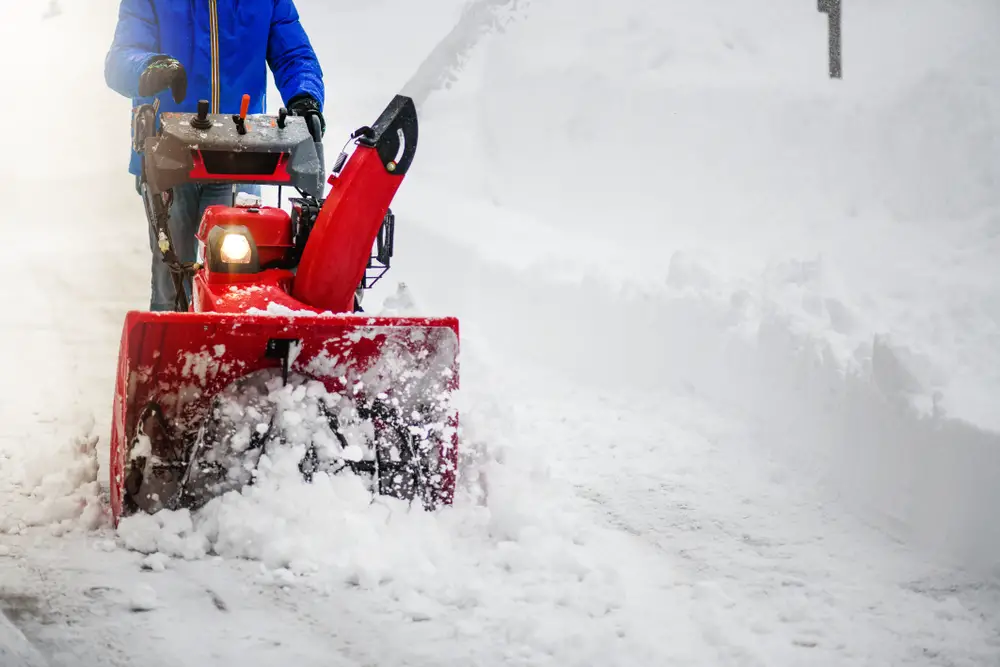
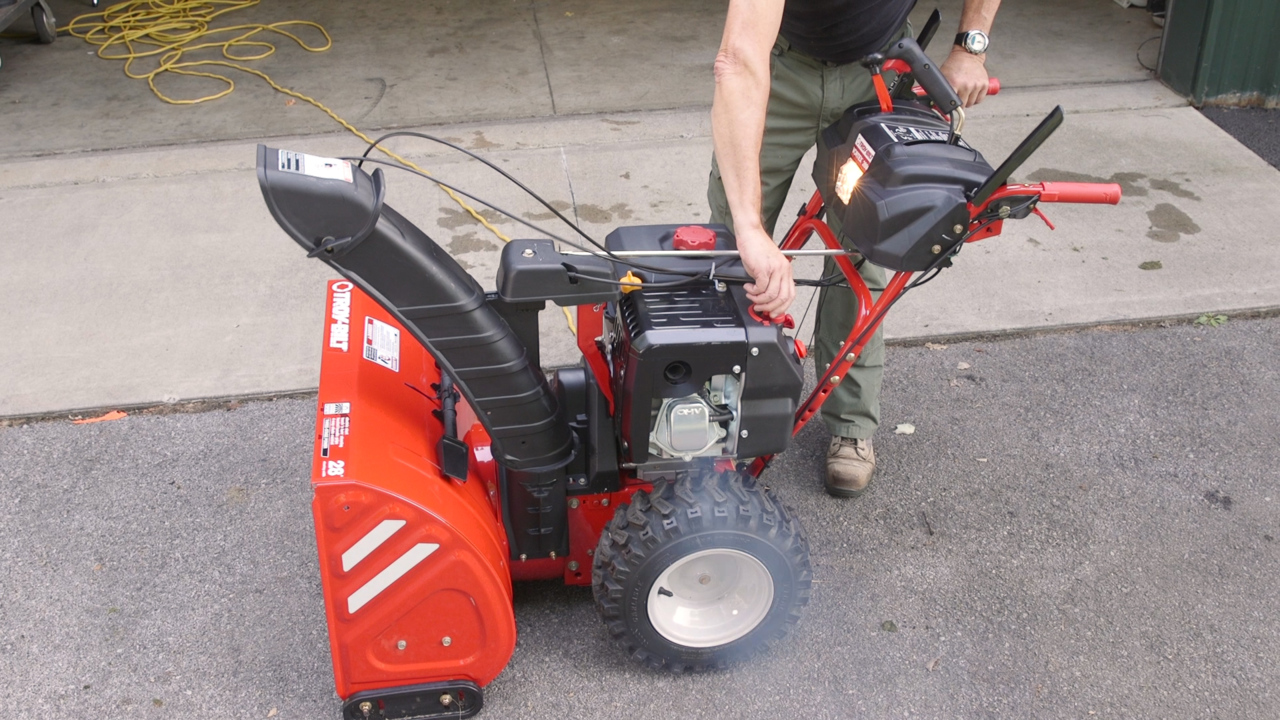
Two-Stage Snow Blower
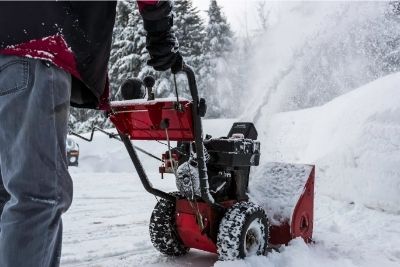
Features of Two-Stage Snow Blowers
Two-stage snow blowers are more powerful and versatile than their single-stage counterparts. These machines have an auger to collect the snow and a separate impeller to propel it out of the chute. Two-stage snow blowers can handle heavier snowfalls and clear larger areas more efficiently. They often come equipped with features like self-propulsion and adjustable skid shoes for better maneuverability and adaptability.
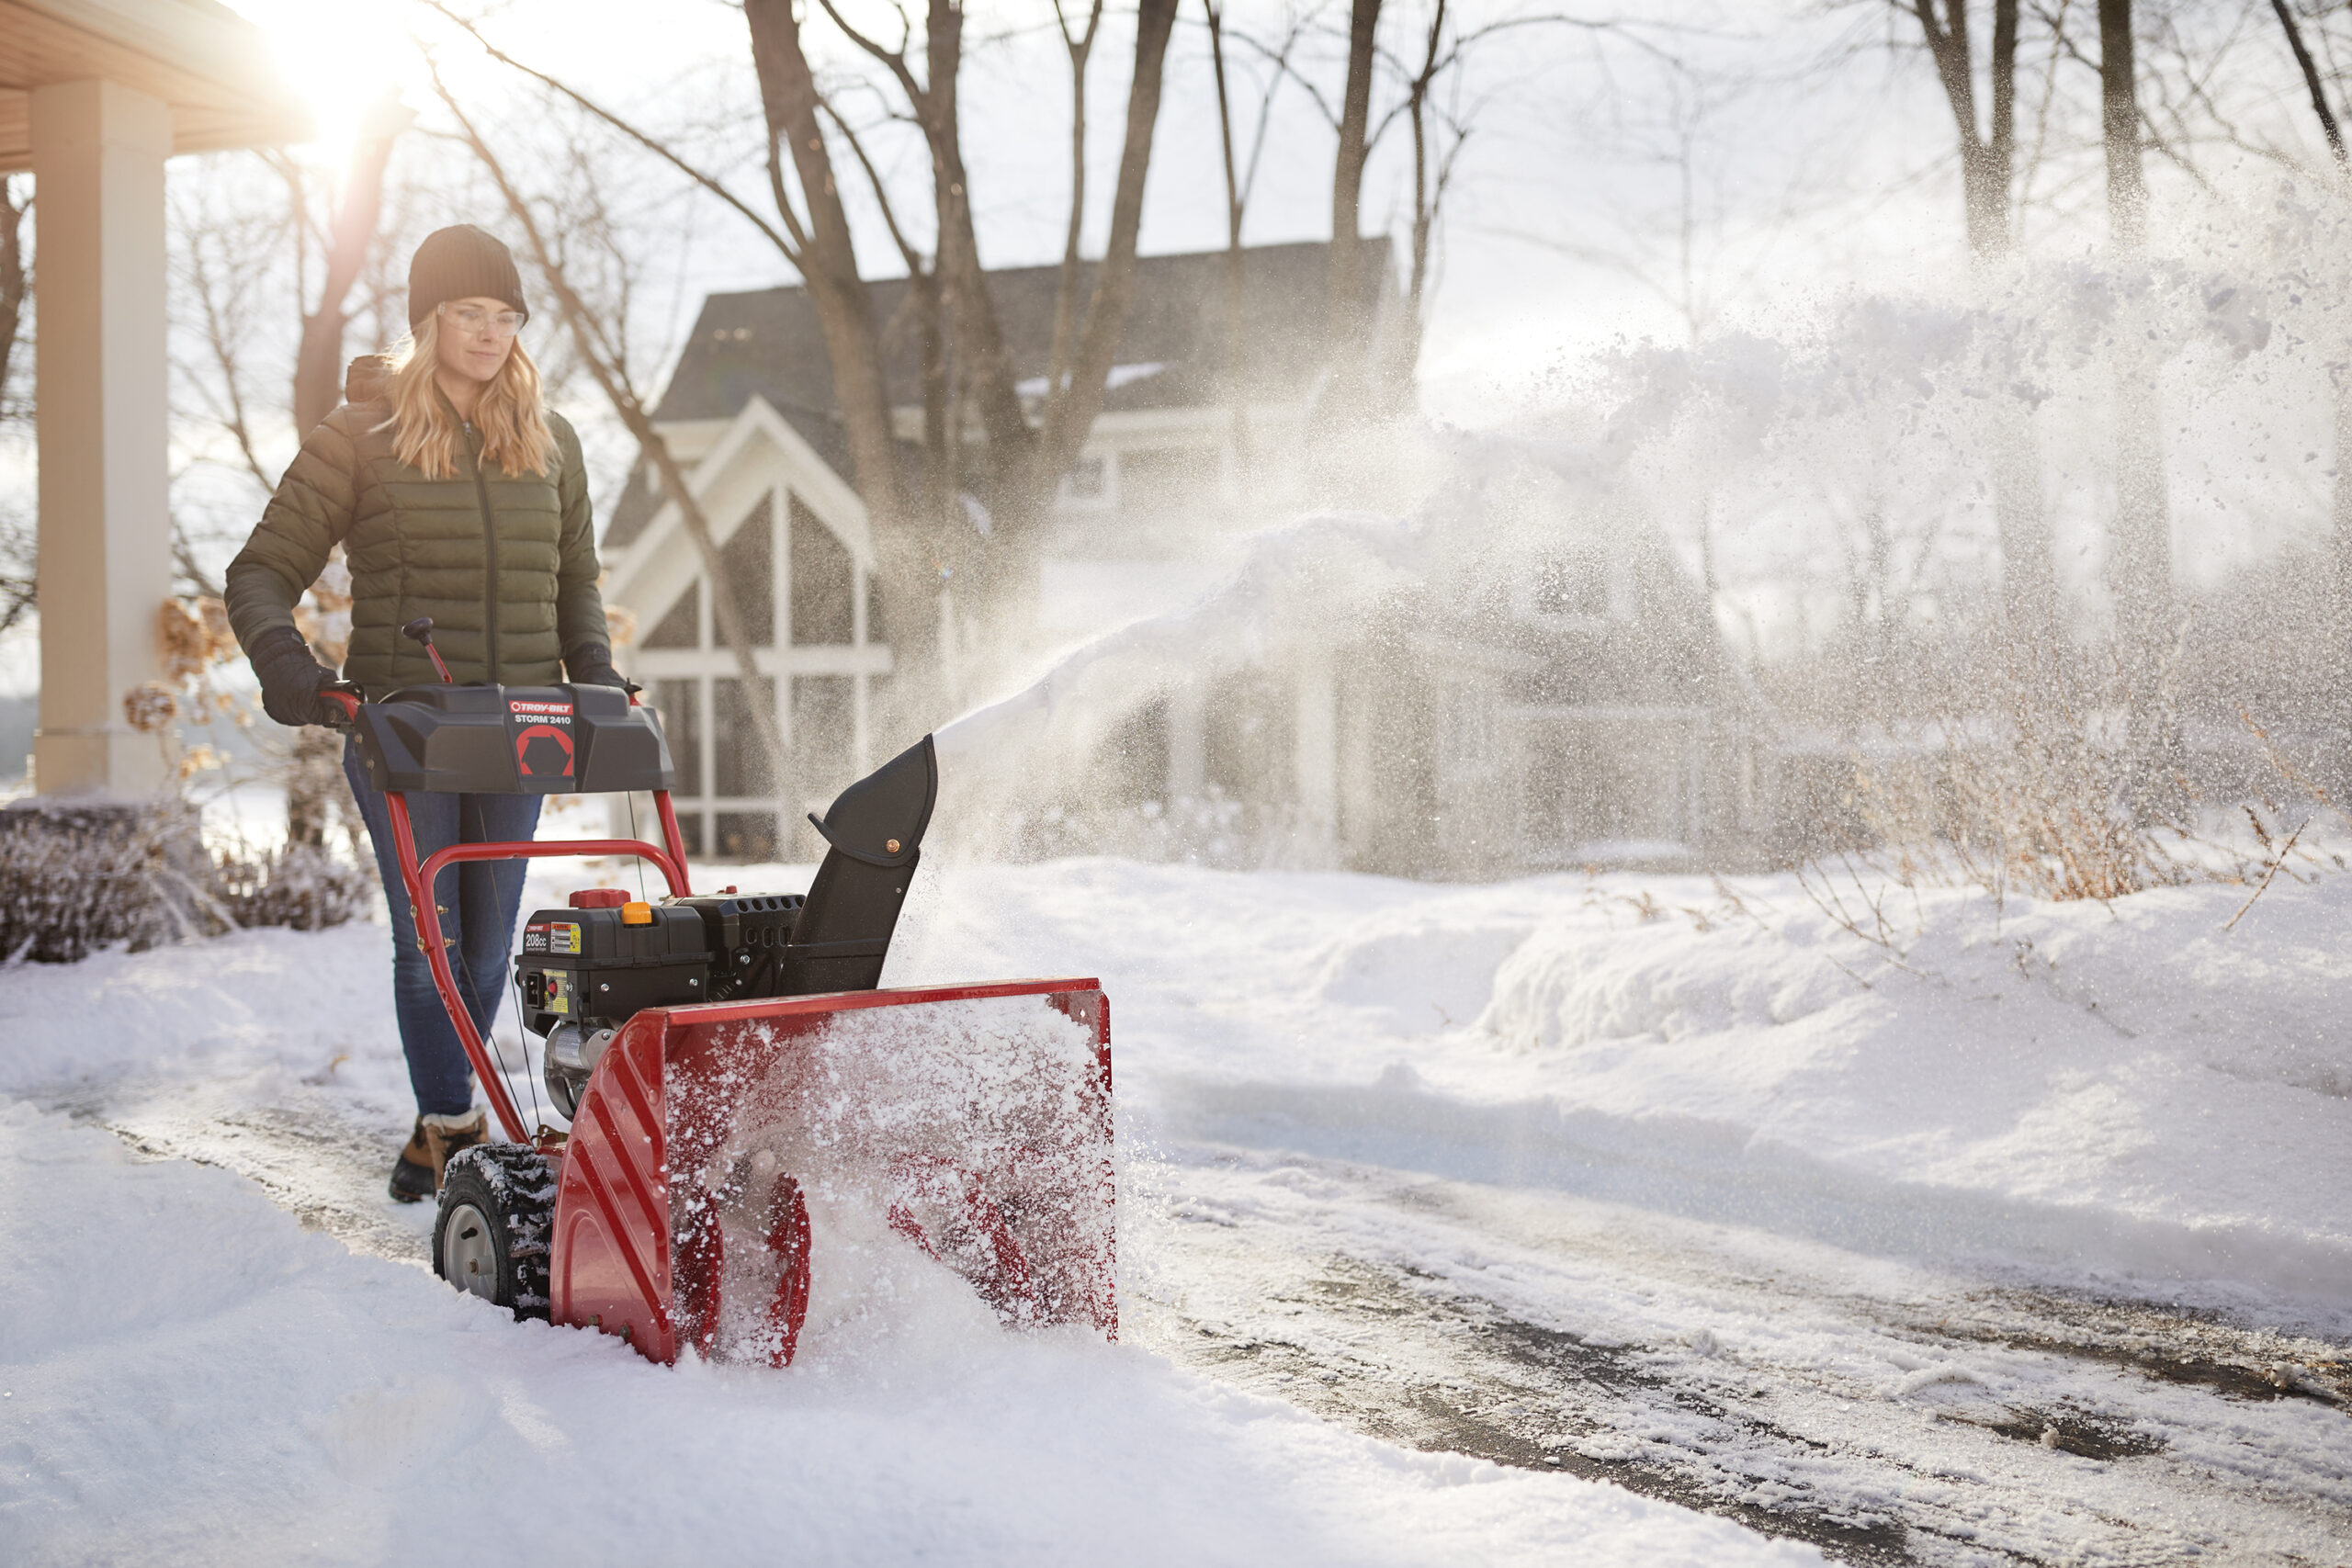
Ideal Snowfall Amounts and Types for Two-Stage Snow Blowers
Two-stage snow blowers are designed to handle snowfalls ranging from 8 to 16 inches. They excel in clearing both light and heavy snow and are effective on various snow types, including wet and compacted snow. Whether you live in a region with regular snowfall or experience occasional heavy storms, a two-stage snow blower is a reliable choice.
Suitable Property Sizes and Terrains for Two-Stage Snow Blowers
Two-stage snow blowers are suitable for medium to large-sized properties, including long driveways and sidewalks. Thanks to their enhanced power and capabilities, they can handle uneven terrains, steep hills, and gravel surfaces. If you have a larger property or frequently encounter heavy snowfalls, investing in a two-stage snow blower will ensure efficient snow removal.

This image is property of www.snowblowersdirect.com.
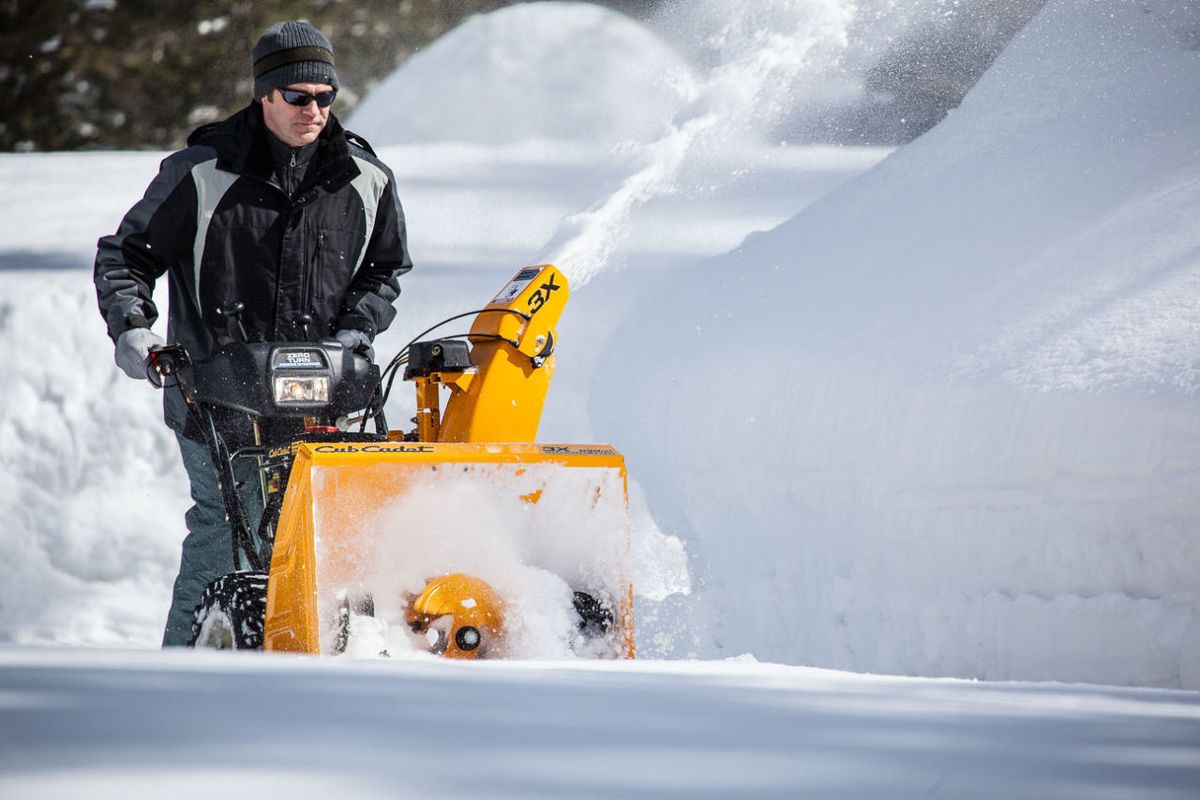
Three-Stage Snow Blower
Features of Three-Stage Snow Blowers
The most powerful and robust among the different stages, three-stage snow blowers are designed to handle the toughest winter conditions. They have an auger to gather the snow, an accelerator to move it towards the center, and an impeller to discharge it through the chute. Three-stage snow blowers are equipped with features like heated handles, power steering, and enhanced traction control for maximum performance.
Ideal Snowfall Amounts and Types for Three-Stage Snow Blowers
Three-stage snow blowers are ideal for heavy snowfalls, generally exceeding 16 inches. They can handle all types of snow, including wet and icy accumulations. If you live in an area with frigid winters and experience frequent heavy snowstorms, a three-stage snow blower will be your most reliable companion.
Suitable Property Sizes and Terrains for Three-Stage Snow Blowers
Three-stage snow blowers are suitable for large properties, such as commercial areas and properties with extensive driveways and parking lots. With their superior power and capabilities, they can handle any terrain, including steep slopes, icy surfaces, and deep snowbanks. If you require professional-grade snow removal or live in an area with severe winter conditions, a three-stage snow blower is the way to go.

This image is property of www.simplicitymfg.com.
Factors to Consider when Choosing a Stage
Snowfall Patterns and Amounts
Before selecting a snow blower, it’s important to assess your local snowfall patterns. Consider the average snow depth and frequency of heavy snowfalls in your area. This will help you determine the appropriate stage to efficiently and effectively clear the snow.
Type of Snow
Different snow types require different stages of snow blowers for optimal clearing. Lightweight, fluffy snow can be easily handled by a single-stage blower, while wet and compacted snow often necessitates the power of a two-stage or three-stage blower. Consider the type of snow you typically encounter to make an informed decision.
Property Size and Terrain
Evaluate the size of your property and the specific terrains that need clearing. Smaller properties with paved surfaces can be adequately cleared with a single-stage snow blower. Larger properties, uneven terrains, and steep slopes require the power and capabilities of a two-stage or three-stage snow blower.
Frequency of Use
Consider how frequently you will be using the snow blower. If you live in an area with frequent snowfall and need to clear your property often, investing in a more powerful and durable snow blower will ensure it can handle the workload without compromising performance or reliability.
Budget
Lastly, your budget plays a significant role in determining the stage of snow blower you can afford. Single-stage snow blowers tend to be more budget-friendly, while two-stage and three-stage snow blowers come with higher price tags due to their increased power and features. Set a budget and choose a snow blower stage that meets your needs without breaking the bank.

This image is property of remingtonpowertools.com.
Conclusion
Choosing the right snow blower is essential for efficient snow removal during the winter months. By understanding the different stages of snow blowers, considering factors such as snowfall amounts and types, property size and terrain, frequency of use, and budget, you can make a well-informed decision and find the perfect snow blower for your needs. Remember, each stage has its own unique features and capabilities, so take the time to evaluate your specific requirements before making your purchase. With the right snow blower by your side, you can confidently conquer the winter weather and enjoy clear paths throughout the season. Stay warm and stay safe!