So you’ve found yourself with a broken shear pin on your trusty snowblower, and you’re wondering how to get it fixed and back in action. Don’t worry, we’ve got you covered. In this article, we’ll walk you through the step-by-step process of replacing shear pins on your snowblower, so that you can quickly get back to tackling those snowy driveways and sidewalks without any hassle. Whether you’re a seasoned snowblower owner or a newbie in need of guidance, we’ll provide all the information you need to successfully replace those pesky shear pins and keep your snowblower running smoothly all winter long.

Preparing for the Replacement
Understanding the Function of Shear Pins
Before you begin replacing the shear pins on your snowblower, it’s important to understand their function. Shear pins are designed to break if the auger blades encounter an obstruction, such as a rock or thick ice. This prevents damage to the more expensive and complex parts of the snowblower, such as the gearbox or engine. By sacrificing the shear pins, you can protect your snowblower from costly repairs.
Identifying the Type of Shear Pins
Snowblowers can have different types of shear pins, depending on the make and model. It’s essential to identify the specific type of shear pins your snowblower requires before attempting to replace them. Some common types include bolt-style shear pins, cotter pin-style shear pins, or roll pin-style shear pins. Consult your owner’s manual or contact the manufacturer to determine the correct type of shear pins for your snowblower.
Gathering the Necessary Tools
To replace the shear pins on your snowblower, you’ll need a few tools. Make sure you have a wrench or socket set that fits the bolt size of your shear pins. Additionally, keep a pair of pliers or a screwdriver handy for removing retaining clips, if applicable. It’s always a good idea to gather these tools before starting the replacement to avoid unnecessary delays or frustration.
Ensuring Safety Measures
Before you begin any maintenance or replacement work on your snowblower, it’s crucial to prioritize safety. Make sure the snowblower is turned off and completely cooled down before starting the replacement. Additionally, disconnect the spark plug wire to prevent accidental start-ups. It’s also essential to wear protective gloves and goggles to safeguard yourself from any potential injuries. By taking these safety measures, you can ensure a smooth and safe replacement process.
Locating the Shear Pins
Checking the Owner’s Manual
To locate the shear pins on your specific snowblower model, the first step is to consult the owner’s manual. The manual will provide you with detailed instructions and diagrams that pinpoint the exact location of the shear pins. It may also include additional tips or precautions specific to your snowblower model. Familiarize yourself with the manual’s instructions to proceed confidently with the replacement.
Examining the Auger
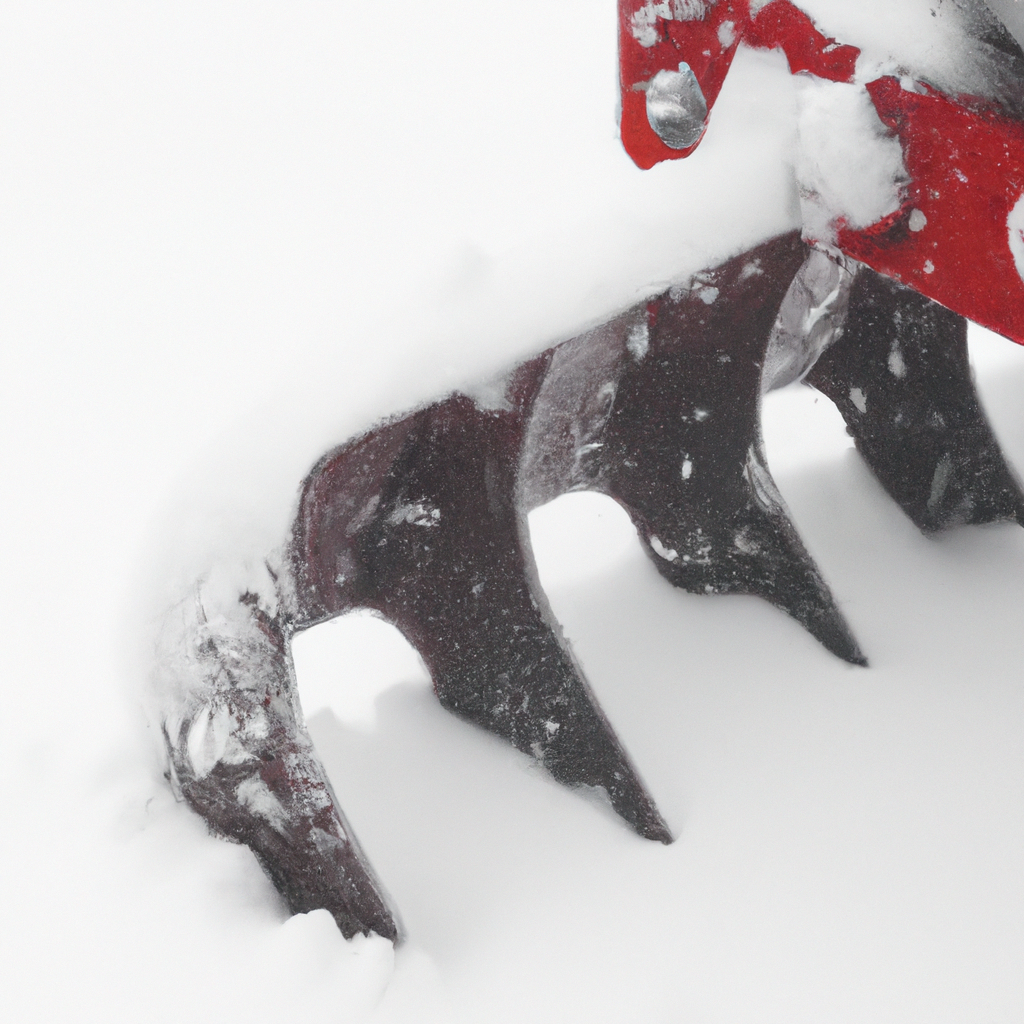
The auger is the rotating blade mechanism responsible for breaking up and moving the snow in the snowblower. To identify the shear pins, examine the auger assembly closely. In most snowblowers, the shear pins are located on the sides of the auger blades, near the point where they attach to the auger shaft. Look for any bolts, cotter pins, or retaining clips that secure the auger blades in place. These are the components that need to be removed to access and replace the shear pins.
Inspecting the Gearbox
While the shear pins themselves are not located in the gearbox, it’s essential to inspect this area as well. The gearbox is responsible for transferring power from the engine to the auger blades. Inspect the gearbox for any signs of damage, leaks, or excessive wear. A damaged gearbox can place additional strain on the shear pins and lead to more frequent replacements. If you notice any issues with the gearbox, it’s advisable to consult a professional for repairs before replacing the shear pins.

Removing the Shear Pins
Turning off the Snowblower
Before attempting to remove the shear pins, it’s crucial to turn off the snowblower and ensure it’s completely powered down. This will prevent any accidental start-ups during the replacement process. Take a few moments to verify that the engine is off, disconnect the spark plug wire, and allow the machine to cool down before proceeding.
Clearing the Auger of Snow
Before you can access the shear pins, it’s important to clear the auger of any accumulated snow or debris. This can prevent any blockages or obstructions that may hinder the removal or replacement process. Use a shovel or gloved hands to clear away the snow from the auger blades. Ensure that the area is clean and free of any objects before continuing.
Securing the Auger
To safely remove the shear pins, it’s crucial to secure the auger blades in place. This will prevent the auger from rotating or shifting during the removal process, minimizing the risk of injury. Depending on your snowblower model, there may be specific instructions in the owner’s manual on how to secure the auger. This could involve using wooden blocks or other tools to hold the blades in place. Follow the recommended instructions carefully to ensure proper stabilization.
Removing the Retaining Clip or Bolt
Once the auger is securely in place, it’s time to remove the retaining clip or bolt that holds the shear pin in position. This may require using pliers, a wrench, or a socket set, depending on the specific type of retaining mechanism used. Carefully remove the retaining clip or unscrew the bolt, making sure to keep track of any washers or other components that may come loose during the process. Set these pieces aside in a safe location, as you will need them for reinstalling the new shear pin.
Extracting the Shear Pin
With the retaining clip or bolt removed, you can now extract the shear pin itself. The shear pin should slide out relatively easily once the retaining mechanism is removed. If it feels stuck or difficult to remove, check for any remaining debris or obstruction and clear it away. Take care not to apply excessive force, as this could damage the auger blades or surrounding components. Once the shear pin is removed, set it aside and prepare to install the new one.
Selecting and Installing the New Shear Pins
Choosing the Correct Shear Pins
Now that you have removed the old shear pin, it’s time to select a suitable replacement. Consult your owner’s manual or contact the manufacturer to obtain the correct shear pin specifications for your snowblower model. It’s crucial to choose shear pins that match the exact dimensions and type recommended by the manufacturer. Using the wrong shear pins could compromise the safety and performance of your snowblower. Once you have the correct shear pins, you’re ready to proceed with the installation.
Inserting the New Shear Pin
To insert the new shear pin, first, align it with the holes on the auger blade and the auger shaft. Gently push the shear pin through both holes until it’s fully inserted. Make sure the pin fits snugly and does not protrude excessively on either side. It’s important to avoid bending or warping the shear pin during the insertion process, as this could impair its ability to break appropriately in case of an obstruction.
Securing the Pin in Place
Once the new shear pin is inserted, it’s time to secure it in place. If your snowblower model uses a retaining clip, carefully reattach it by sliding it into the designated groove. Ensure that the clip is fully engaged and holds the shear pin securely. If your snowblower uses a bolt instead of a retaining clip, thread the bolt back into place and tighten it securely using a wrench or socket set. Double-check that the shear pin is firmly held and does not move unnecessarily.
Replacing the Retaining Clip or Bolt
After the new shear pin is secured, it’s important to reattach the retaining clip or bolt that holds it in position. If you removed any washers or other components earlier, ensure that they are properly reinstalled before securing the retaining mechanism. Take care to align the retaining clip correctly and ensure it is securely in place. If using a bolt, tighten it to the appropriate torque specification mentioned in the owner’s manual. The replacement process for the shear pins is now complete.
Testing the Replacement
Turning on the Snowblower
Before you test the replacement shear pins, it’s essential to turn on the snowblower and allow it to warm up for a few minutes. This will ensure that the engine and other components are adequately lubricated and functioning correctly. Once the snowblower is running, take a moment to listen for any unusual noises or vibrations that may indicate an issue.
Checking the Auger’s Performance
To test the replacement shear pins, engage the auger and observe its performance. The auger should rotate smoothly and break up any snow or debris in its path. If you notice any unusual noises, vibrations, or lack of effectiveness in clearing the snow, this could indicate a problem with the shear pins. In such cases, consider rechecking the installation to ensure the shear pins are properly aligned and secured.
Observing the Shear Pins
As the snowblower operates and the auger rotates, keep an eye on the shear pins. Over time, shear pins can wear down or break due to regular use. Observing the shear pins during operation can help you identify any signs of wear or damage. If you notice any sheared or significantly worn shear pins, it’s essential to replace them promptly to avoid potential damage to the snowblower.
Tips and Considerations
Inspecting Shear Pins Regularly
To ensure the optimal performance and safety of your snowblower, make it a habit to inspect the shear pins regularly. Check them for signs of wear, excessive rust, or damage. This can help you catch any potential issues before they cause a failure during operation. Inspecting the shear pins should be part of your routine snowblower maintenance.
Keeping Spare Shear Pins
In addition to regular inspections, it’s a good idea to keep spare shear pins on hand. Accidents can happen, and having extras readily available will save you from disruptions or delays if a shear pin needs replacement. Purchase a set of shear pins compatible with your snowblower model and store them in a safe place. Having spare shear pins can provide peace of mind and ensure that you’re always prepared.
Avoiding Overloading the Snowblower
To prevent unnecessary strain on the shear pins, avoid overloading your snowblower by taking smaller and more manageable passes when clearing snow. Trying to clear too much snow at once can put excessive stress on the auger blades and shear pins, increasing the likelihood of a failure. Take your time and allow the snowblower to work efficiently without excessive force or resistance.
Consulting a Professional if Needed
If you’re uncertain about replacing the shear pins on your snowblower or encounter any difficulties during the process, it’s always a good idea to consult a professional. They have the expertise and experience to ensure the job is done correctly and safely. Don’t hesitate to reach out to a qualified technician or the manufacturer if you have any concerns or questions regarding the shear pin replacement process.
