So you’ve got yourself a trusty snowblower to help tackle those winter storms, but now you’re faced with the question: how do I change the oil in my snowblower? Well, fear not, because in this article, we’ll guide you through the step-by-step process of oil change so you can keep your snowblower running smoothly all season long. Whether you’re a seasoned snowblower owner or a newbie, we’ve got you covered with all the information you need to ensure your snowblower stays in top shape. Changing the oil in your snowblower is an important maintenance task that you should do regularly to keep your equipment running smoothly. By following a few simple steps, you can easily change the oil in your snowblower and ensure its optimal performance. In this article, we will guide you through the process of changing the oil in your snowblower, from preparing to drain the old oil to adding fresh oil and properly maintaining and storing your equipment.

Preparing to Change the Oil
Before you begin changing the oil in your snowblower, it’s essential to gather the necessary tools and materials. You will need a few basic items to successfully complete the oil change process. These include a wrench or socket set, a container to collect the old oil, a funnel, and, of course, the appropriate type and amount of fresh oil recommended by your snowblower’s manufacturer.
Choosing the right oil for your snowblower is crucial for its proper functioning. Different snowblower models may have specific oil requirements, so it’s essential to consult your snowblower’s manual or manufacturer’s website to determine the appropriate oil type and viscosity. Pay attention to the oil’s weight, such as 5W-30 or 10W-30, as it indicates the oil’s viscosity in different temperature conditions.
You now have the tools and materials needed, and you know which oil to use. It’s time to move on to the next step and find the oil drain plug in your snowblower.
Finding the Oil Drain Plug
To drain the old oil from your snowblower, you need to locate the oil drain plug. Consult your snowblower’s manual or manufacturer’s guide to find the drain plug’s exact location since it may vary depending on the make and model of your machine. Generally, you can find the oil drain plug at the bottom of the snowblower’s engine or on the side of the engine block.
Once you’ve located the drain plug, it’s time to prepare your snowblower for the oil change process.

Preparing the Snowblower
Before draining the old oil, it’s crucial to prepare your snowblower properly. Start by placing a container under the oil drain plug to collect the old oil. Ensure that the container is large enough to hold the entire amount of oil that will be drained from the engine. This will prevent any spills or leaks and help keep the work area clean.
Once you’ve positioned the container, it’s time to open the oil drain plug and allow the oil to fully drain.
Draining the Old Oil
To drain the old oil from your snowblower, you must first locate the oil drain plug. It is usually a bolt-like structure with a hexagonal or square head. Use a wrench or socket set to loosen and remove the drain plug, allowing the oil to flow out of the engine and into the container below. Be cautious as the oil may still be hot, so wearing gloves is recommended to avoid burns.
Let the oil drain completely until the flow stops, ensuring that all the old oil has been removed from the engine. Once the oil has fully drained, it’s time to close the drain plug.
Closing the Drain Plug
After the oil has drained, carefully wipe any excess oil from the drain plug and its surrounding area. Then, securely tighten the drain plug back into its original position. Make sure not to overtighten it, as this could lead to damage or leaks. A snug fit is usually sufficient to prevent any oil from leaking out.
Congratulations! You have successfully drained the old oil from your snowblower. Now, it’s time to add fresh oil to keep your engine running smoothly.
Adding Fresh Oil
Determining the appropriate oil capacity is essential before adding fresh oil. Again, consult your snowblower’s manual or manufacturer’s guide to find the exact oil capacity for your machine. Typically, the oil capacity is mentioned in fluid ounces or liters.
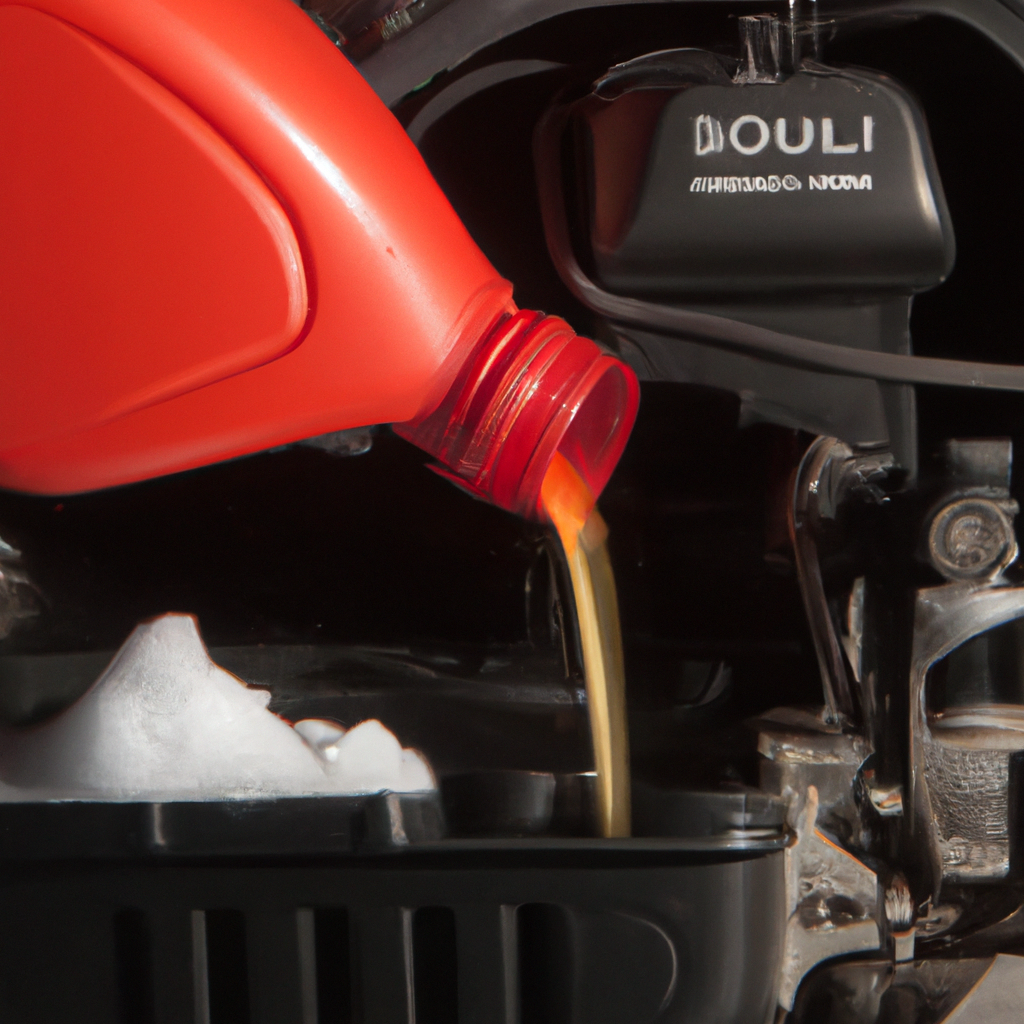
To add fresh oil, locate the oil fill port on your snowblower. This is usually a small opening on the top or side of the engine. Use a funnel to ensure a clean and precise pour. Slowly pour the recommended amount of fresh oil into the oil fill port, taking care not to overfill. It’s always better to pour a little less oil and then check the oil level before adding more.
Checking the Oil Level
After adding fresh oil, it’s crucial to check the oil level to ensure that it falls within the recommended range. Most snowblowers have an oil dipstick or a sight glass on the engine that allows you to check the oil level easily. Insert the dipstick into the oil fill port, or check the oil level through the sight glass, and ensure that the oil level is between the minimum and maximum marks.
If the oil level is low, you can add a small amount of oil. Remember to check the oil level again after adding to ensure it is within the recommended range. It’s better to have a slightly lower oil level than an overfilled one, as excessive oil can cause engine damage.
Proper Maintenance and Storage
Now that you have changed the oil in your snowblower, it’s essential to maintain it properly to ensure its longevity and optimal performance.
Regularly checking the oil level is essential to keep your snowblower running smoothly. Make it a habit to check the oil level before each use or after every few hours of operation. This will help you detect any potential oil leaks or issues promptly.
If your snowblower has an oil filter, it is recommended to replace it according to the manufacturer’s instructions. The oil filter helps remove impurities and contaminants from the oil, ensuring better engine performance. Regularly replacing the oil filter will help maintain the overall health of your snowblower.
Cleaning the oil fill port is also important to prevent any debris or dirt from entering the engine. Use a clean cloth or rag to wipe away any oil residue around the oil fill port. This will ensure that no foreign particles contaminate the fresh oil and potentially damage the engine.
Properly storing your snowblower is crucial, especially during the off-season. Before storing your snowblower, ensure that the fuel tank is empty and that you have followed the manufacturer’s instructions for long-term storage. It’s also a good idea to remove the spark plug and add a small amount of oil to the cylinder to prevent any corrosion. Proper storage will help maintain your snowblower’s condition and ensure that it’s ready to go when the next snowfall arrives.
Changing the oil in your snowblower is a relatively simple task that you can easily do yourself. By following these steps and properly maintaining your snowblower, you can enjoy its reliable performance for many winters to come. Don’t forget to consult your snowblower’s manual or manufacturer’s guide for specific instructions and guidelines. Happy snowblowing!
