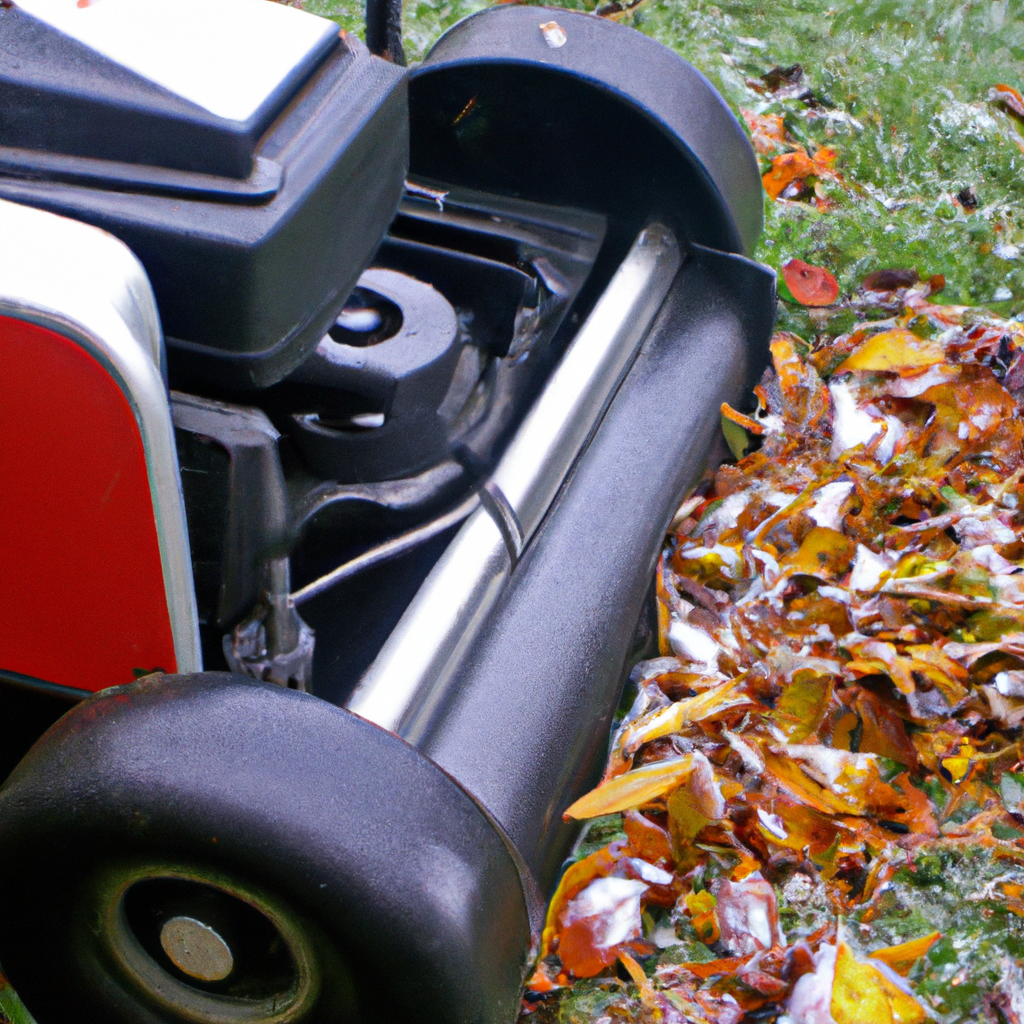
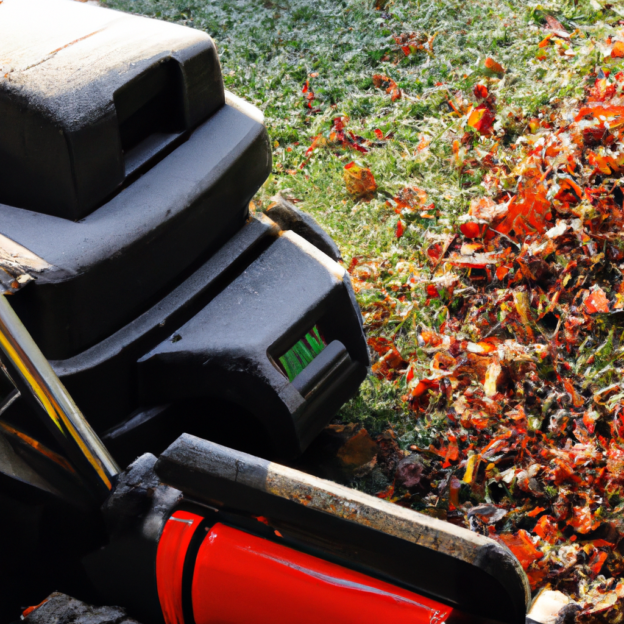
So, winter is right around the corner and you’re thinking about how to prepare your trusty snowblower for the season. Well, look no further! In this article, we’ll give you some handy tips and tricks on how to properly winterize your snowblower, ensuring that it’s all set to tackle those snow-filled days ahead. From draining the fuel to properly storing it, we’ve got you covered with all the essential steps. So, sit back, grab a cup of hot cocoa, and let’s get started on winterizing your snowblower like a pro! Winterizing a snowblower is an essential task to ensure its longevity and optimal performance. By following a few simple steps, you can keep your snowblower in top shape and ready to tackle the next winter season. Let’s break down the process of winterizing a snowblower and explore each step in detail.

Drain the Fuel
The first step in winterizing your snowblower is to drain the fuel from the engine. Start by turning off the engine and allowing it to cool down. Once the engine is cool, remove the fuel cap to access the fuel tank. Place a container below the carburetor to catch the fuel. Next, open the carburetor bowl drain screw to allow the fuel to drain fully from the system. This step is vital as it prevents the fuel from sitting in the engine for an extended period, which can lead to clogging and damage.
Change the Oil
Changing the oil in your snowblower is another crucial step in winterizing the machine. Begin by running the engine for a few minutes to warm the oil. This ensures that the oil flows freely and removes any contaminants. Once the engine is warm, turn it off and locate the oil drain plug. Use a suitable tool to loosen the plug and drain the oil into a container. Don’t forget to replace the oil filter as well. Finally, fill the engine with fresh oil, following the manufacturer’s recommendations. Clean oil helps lubricate the engine and prevents corrosion during the winter months.
Clean the Snowblower
Keeping your snowblower clean is essential for maintaining its performance and preventing rust. Start by removing any snow and ice from all parts of the machine, paying close attention to the chute and auger. Then, remove any debris such as leaves, twigs, or dirt that may have accumulated. Use a brush or cloth to clean the surfaces, ensuring that all components are free from dirt and grime. Taking the time to clean your snowblower not only improves its appearance but also allows for better functionality.

Inspect and Replace Spark Plugs
The spark plugs play a crucial role in the ignition system of your snowblower. Over time, they can wear out or become damaged, leading to poor engine performance. To inspect the spark plugs, access them by removing the spark plug wire. Examine each plug for signs of wear or damage, such as worn electrodes or excessive rust. If any spark plugs show these signs, it’s best to replace them with new ones. This simple maintenance task ensures that your snowblower starts smoothly when you need it most.
Inspect and Replace Belts
The belts in your snowblower are responsible for transferring power and driving various components. It’s essential to check them for wear or damage regularly. Look for signs such as cracks, fraying, or stretching. If any belts appear worn or damaged, remove and replace them with new ones. Ignoring belt issues can lead to reduced performance and even total failure of the snowblower. Keep your snowblower operating efficiently by ensuring the belts are in good condition.
Check the Skid Shoes
Skid shoes are metal plates located at the bottom of the snowblower housing. They provide clearance between the auger and the ground, preventing damage to the machine and making it easier to maneuver. Regularly check the condition of the skid shoes for signs of wear or damage. Replace any worn or damaged skid shoes to maintain proper functionality and protect your snowblower from unnecessary wear.
Inspect the Shear Pins
Shear pins play a vital role in protecting the auger and the engine. They are designed to break if the auger becomes jammed, preventing more severe damage. Inspect the shear pins for wear or damage and replace any that show signs of fatigue. Ensuring the shear pins are in good condition guarantees that your snowblower can handle heavy snow without risking damage to critical components.
Lubricate Moving Parts
Lubrication is necessary to keep the moving parts of your snowblower operating smoothly. Apply lubricant to the auger shaft and other moving parts, following the manufacturer’s recommendations. This helps prevent rust, reduces friction, and ensures smooth movement of all components. Regular lubrication not only extends the life of your snowblower but also enhances its performance when clearing snow.
Store in a Dry Location
When winter is over, it’s essential to store your snowblower properly. Choose a dry and sheltered storage area to protect the machine from moisture and extreme temperatures. Before storing, clean the snowblower thoroughly to remove any dirt or debris. Additionally, cover the snowblower with a protective tarp to shield it from dust and potential damage. Finally, make sure to keep the snowblower off the ground to prevent moisture buildup, which can lead to rust.
Perform Regular Maintenance
To keep your snowblower in optimal condition, following the manufacturer’s maintenance schedule is vital. Regularly inspect all parts and components for wear or damage. Replace any worn or damaged parts promptly to avoid further problems down the line. By performing regular maintenance, you can address potential issues before they become major problems, ensuring that your snowblower is always ready to tackle the winter weather.
Winterizing your snowblower is a necessary step to protect your investment and ensure its reliability. By following these steps and taking the time to perform regular maintenance, you can extend the life of your snowblower and enjoy hassle-free snow removal for years to come. So, don’t forget to drain the fuel, change the oil, clean the snowblower, inspect and replace spark plugs and belts, check the skid shoes and shear pins, lubricate moving parts, store in a dry location, and perform regular maintenance. With these winterization tips, you’ll be better prepared for the next snowfall, knowing that your snowblower is in excellent shape and ready to take on whatever winter throws your way.
